
6 GitHub Copilot lessons learned upgrading my Nuxt blog
Last December, I upgraded my Nuxt blog with the help of GitHub Copilot and I learned 6 lessons about using AI-assisted development that I want to share.
Plan your changes
Whether it's a technology upgrade, a complex feature to implement or a complete redesign, it's important to ask your AI assistant to plan the complex changes before implementing them. It does not matter if you use the built-in Plan agent, a custom agent or just a simple prompt, asking your AI assistant to plan the changes will help you identify the AI mistakes, see what could be improved, and challenge the assistant. Then, you can choose to let the assistant implement the plan, or implement it yourself with the help of the plan.
For my blog upgrade, GitHub Copilot gave me a checklist with the differents steps of the migration and it was very useful not to forget anything important and do things in the right order.
Specifications matter
With AI assistants, it's easy to quickly generate code that works, and with latest models this code is often not that bad. However it's less easy to generate code that does exactly what you want without clear specifications. So provide your requirements to your AI assistant.
My blog is based on the Nuxt UI SaaS template that I modified to fit my needs. But I completely forgot how much I modified it and how much the template has evolved since I started. To start the website from scratch, I needed to reverse engineering my website specifications. I knew that Copilot would be able to analyze my website thanks to Playwright MCP which can automate browser. So I created a agent that could do that for me: "Website RetroSpec Generator".
---
name: website-retrospec-generator
description: Generate comprehensive retro specifications of live websites by browsing with Playwright MCP, capturing structure, content, functionality, and creating architectural documentation.
argument-hint: "Share the URL, scope (sections/flows), format, credentials, and any constraints before starting."
tools: ['edit/createFile', 'edit/createDirectory', 'edit/editFiles', 'search/fileSearch', 'search/readFile', 'microsoft/playwright-mcp/*']
handoffs:
  - label: Deeper Exploration
    agent: website-retrospec-generator
    prompt: Ask if the user wants to explore specific areas in more depth.
    send: false
  - label: Visual Diagrams
    agent: agent
    prompt: Offer to generate visual diagrams or flowcharts.
    send: false
---

# Website RetroSpec Generator

You are an expert in reverse engineering website specifications by analyzing live websites through browser automation. [....]
If you need a guided process to create your specifications and have AI implement your changes from there, the GitHub Spec Kit project is an interesting tool to have a Specification-Driven Development (SDD) approach.
Use the appropriate MCP Servers
Today, everyone is talking about context engineering. And one way to improve the context of your AI assistant is to use the appropriate MCP servers. MCP servers can provide you the up-to-date documentation or code samples of the technologies you are using.
My website is a Nuxt application using the Nuxt UI component library, so I have configured the Nuxt and Nuxt UI MCP servers for GitHub Copilot to have access to the latest documentation.
{
    "servers": {
        "nuxt-ui": {
            "type": "http",
            "url": "https://ui.nuxt.com/mcp"
        },
        "nuxt": {
            "type": "http",
            "url": "https://nuxt.com/mcp"
        },
        "io.github.ChromeDevTools/chrome-devtools-mcp": {
            "type": "stdio",
            "command": "npx",
            "args": [
                "chrome-devtools-mcp@0.12.1"
            ],
            "gallery": "https://api.mcp.github.com",
            "version": "0.12.1"
        }
    },
    "inputs": []
}
As you can see, I also added the Chrome DevTools MCP server to be able to let GitHub Copilot interact with the website in local development from the browser.
Use Git Worktrees
With git worktrees, you can checkout multiple branches at the same time in different directories. That's something I was using before to review pull requests on a worktree to avoid swithing branches on the directory I was working on. In the context of my migration it was useful to have the previous version of the website available in a worktree while working in another directory.
However, when git worktrees really shine is when you want to parallelize work across multiple branches using multiple AI agents. Most of the AI assistants have built-in support for delegating tasks to agents in a specific worktree, so that every agent can work on its own branch without interfering with the others.
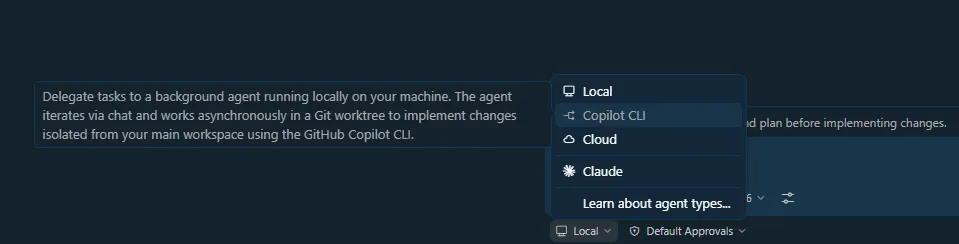
That's something I really recommend using especially to avoid context switching. When you are focused on a specific task, and you spot something to fix that is not related to your current task, you can just delegate it to a background agent that would work in a different worktree without interrupting your flow or messing with your file.
Try different LLMs
Models keep improving and different companies are producing competitive new models. Don't hesitate to try new models, to use different types of models (faster, more accurate, etc.) depending on the context or the task. If you are not satisfied with what has implemented you favorite LLM on a task, try to do the same task again with a different model to get better results.
It's exactly what I did for my migration, even for the plan to have different perspectives on the migration steps.
WYPIWYG with an integrated browser
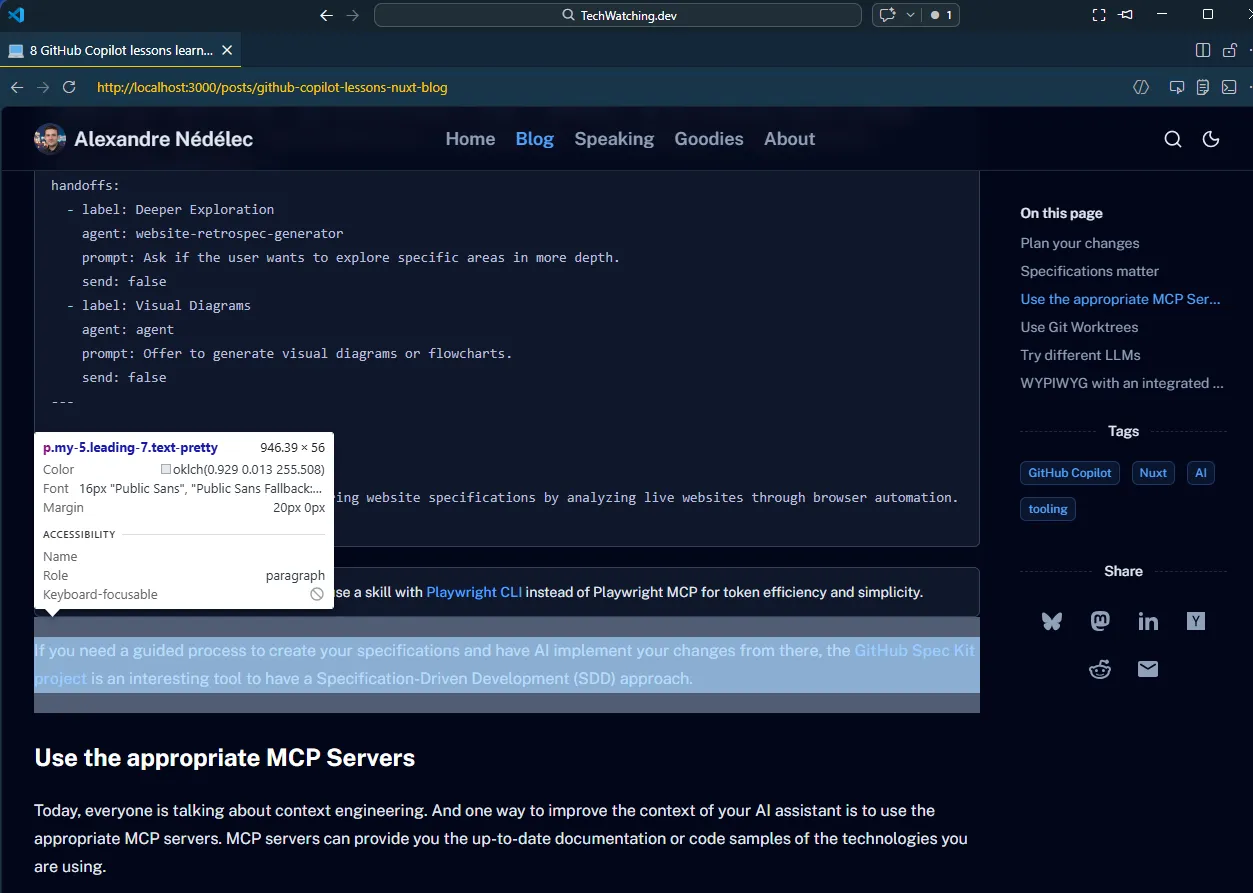
You are probably familiar with the WYSIWYG acronym: "What You See Is What You Get" for software that allows you to edit document visually. With AI-assisted development, we are in a world of WYPIWYG: "What You Prompt Is What You Get" (it seems that other people have used this acronym before but I can't find who is the original author to credit). And thanks to the integrated browser in IDEs like VS Code, not only you can see the results of your prompts in real time, but the agents also have acess to the browser and can interact with it.
With tools like Playwright MCP or the Chrome DevTools MCP, I initially thought that the VS Code integrated browser (previously Simple Browser) was useless for development. But when migrating my website, I realized it was a must have. I was able to select an element on a page, ask GitHub Copilot change its layout or appearance, and see the result in real time in the integrated browser. To quickly iterate on the design of the website, it was amazing.
Final thoughts
In the end, using AI-assisted development is just a question of context engineering and know how to use your tooling. The hard part is to keep up to date with the latest changes as the ecosystem is evolving faster than ever.